There’s a certain charm to having a screen porch that allows you to enjoy nature while being protected from pesky bugs and unpredictable weather. If you’re looking to create your own outdoor retreat, a DIY screen porch kit with a roof is a fantastic solution. In this guide, you’ll find a step-by-step approach to building your ideal space.
Choosing the Right Kit
Before starting your project, selecting the right screen porch kit is essential. Choose one that includes the frame, screens, roofing, and hardware. Consider the size and design that best fits your home and style. A larger kit offers more space for furniture, while a smaller one creates a cozy retreat.
After selecting your kit, gather your tools. You’ll typically need a level, drill, screwdriver, measuring tape, and saw. Reading the assembly instructions thoroughly before beginning helps you understand all components, saving time and effort during installation.
Now, let’s get started! Follow these steps to build your screen porch:
- Prepare the Site: Choose a suitable location for your screen porch. Clear the area of any debris, ensuring that the ground is level. You may also want to lay a foundation, especially if your kit does not come with one.
- Assemble the Frame: Start by constructing the base frame according to the instructions provided in your kit. Use your level to ensure the frame is even. Once complete, secure it firmly to the ground if necessary.
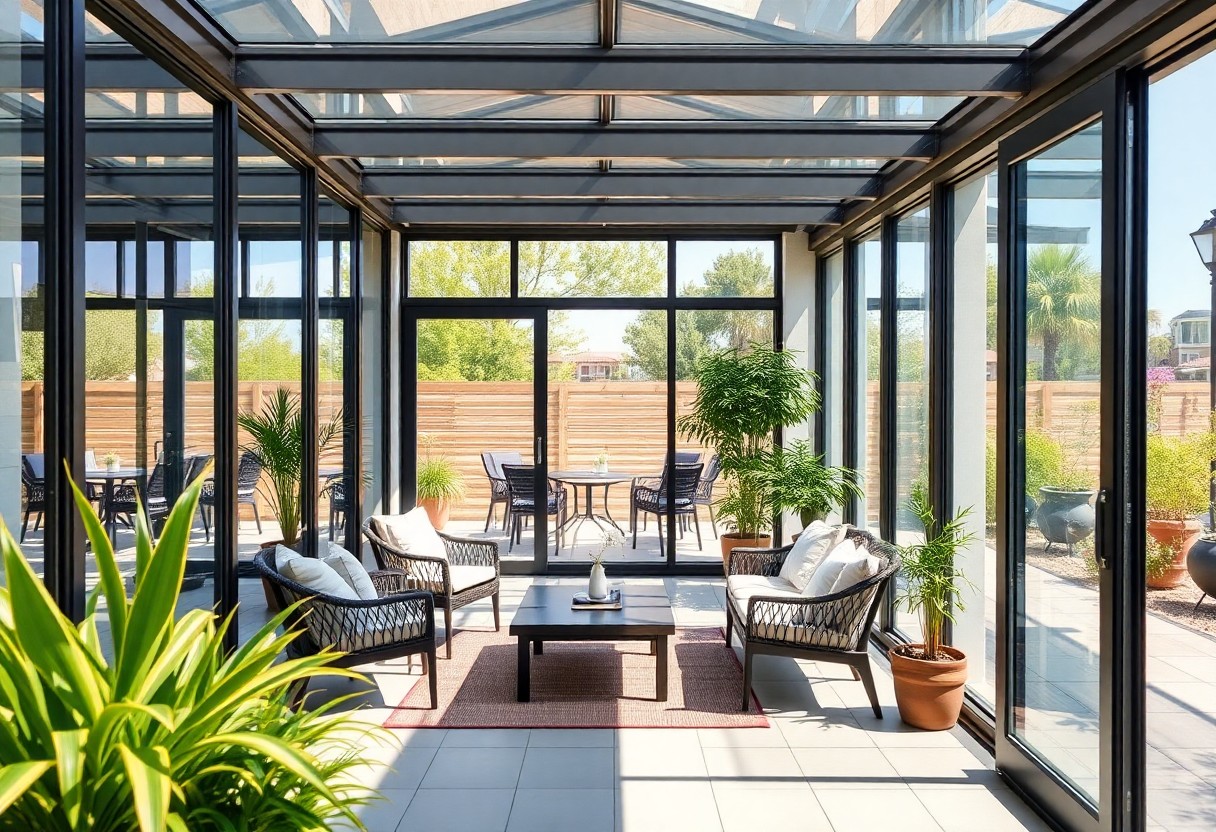
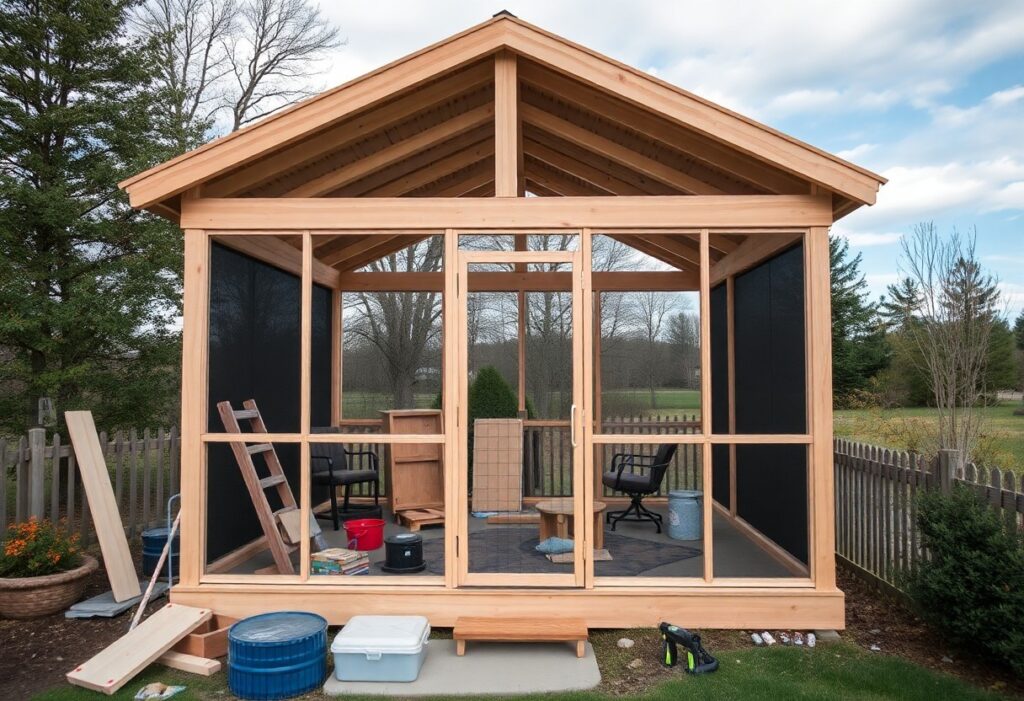
- Install Vertical Posts: Attach the vertical posts to the corners of your frame. These posts will provide the structure for your porch and support the roof. Ensure they are plumb (perfectly vertical) using your level.
- Add Roof Support: Next, install the roof supports as outlined in your kit. This is a critical step, as the roof will protect your porch from the elements. Follow the directions carefully to ensure stability.
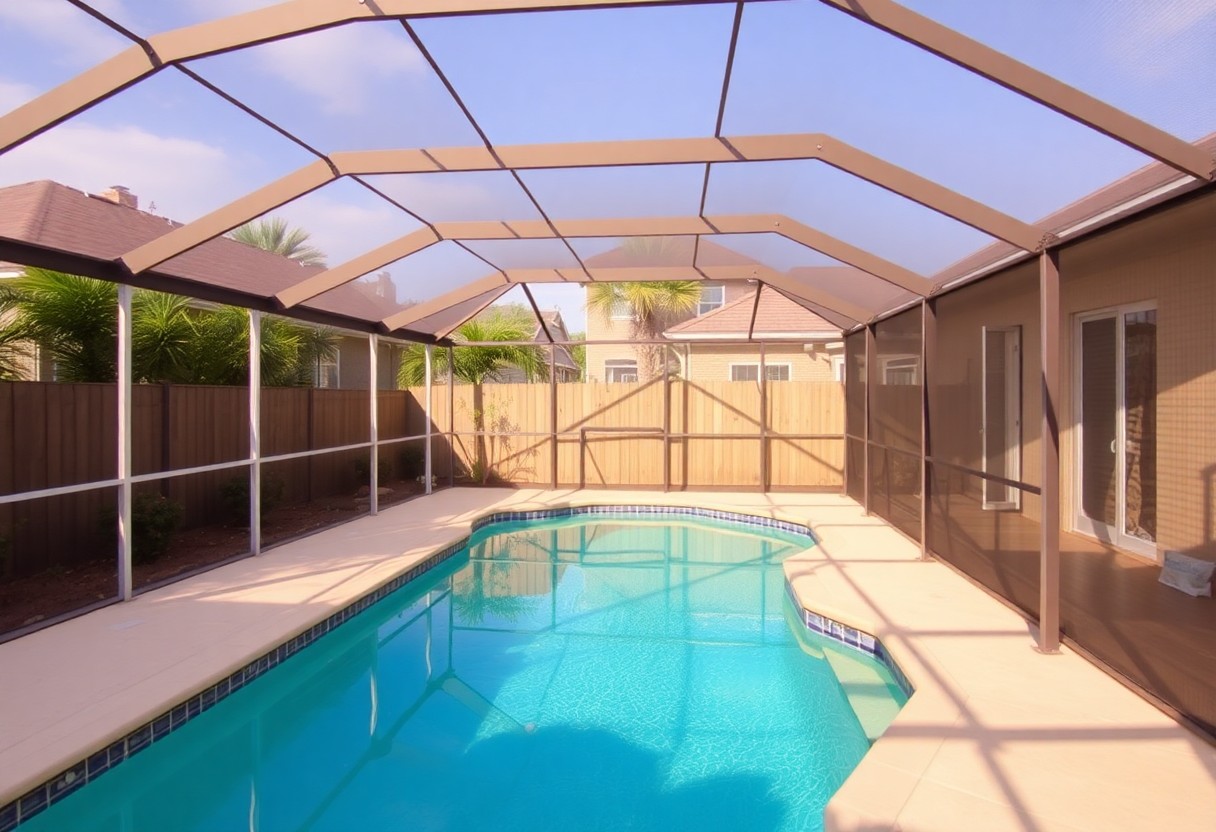
- Install the Roof: With the supports in place, attach the roof panels, making sure they are securely fastened. This is vital for keeping out rain and snow while allowing ventilation.
- Attach Screens: Once the roof is secure, it’s time to install the screens. Use screen frames that fit snugly within the openings. This will keep insects out while letting in fresh air and natural light.
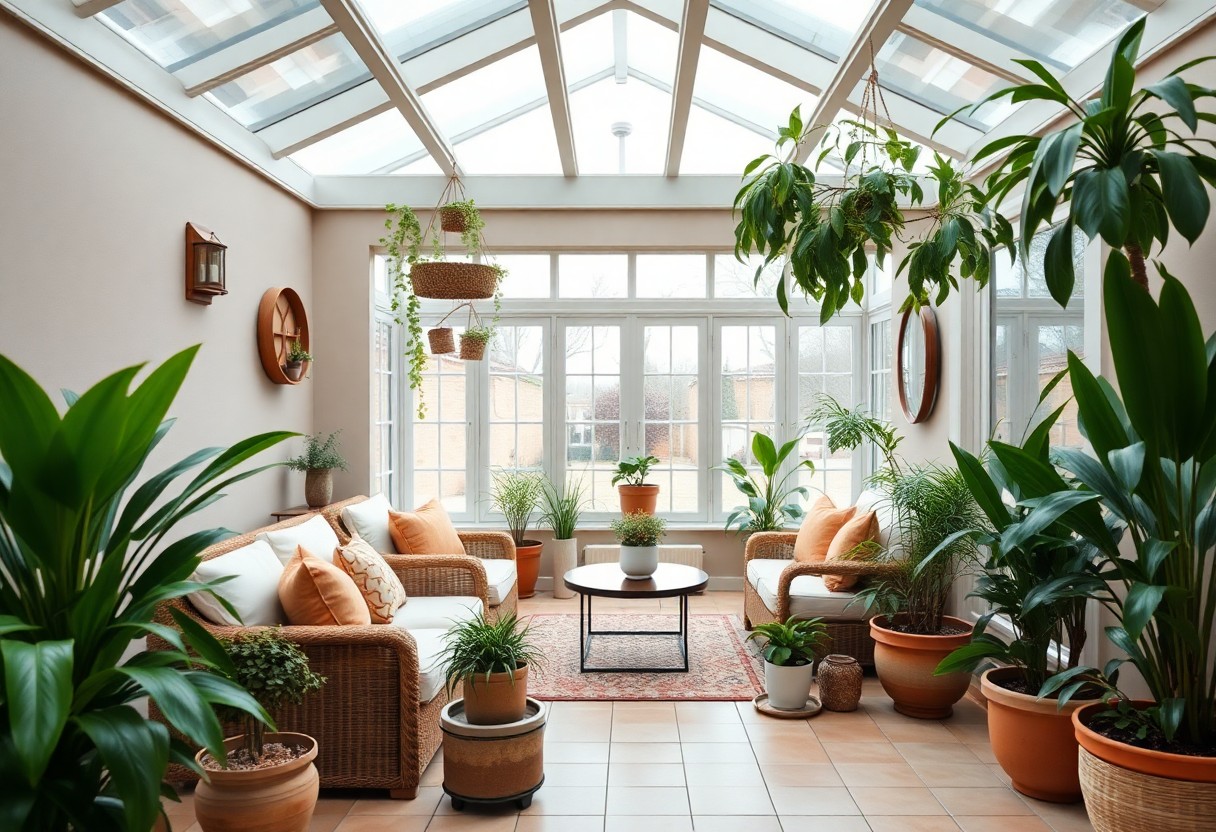
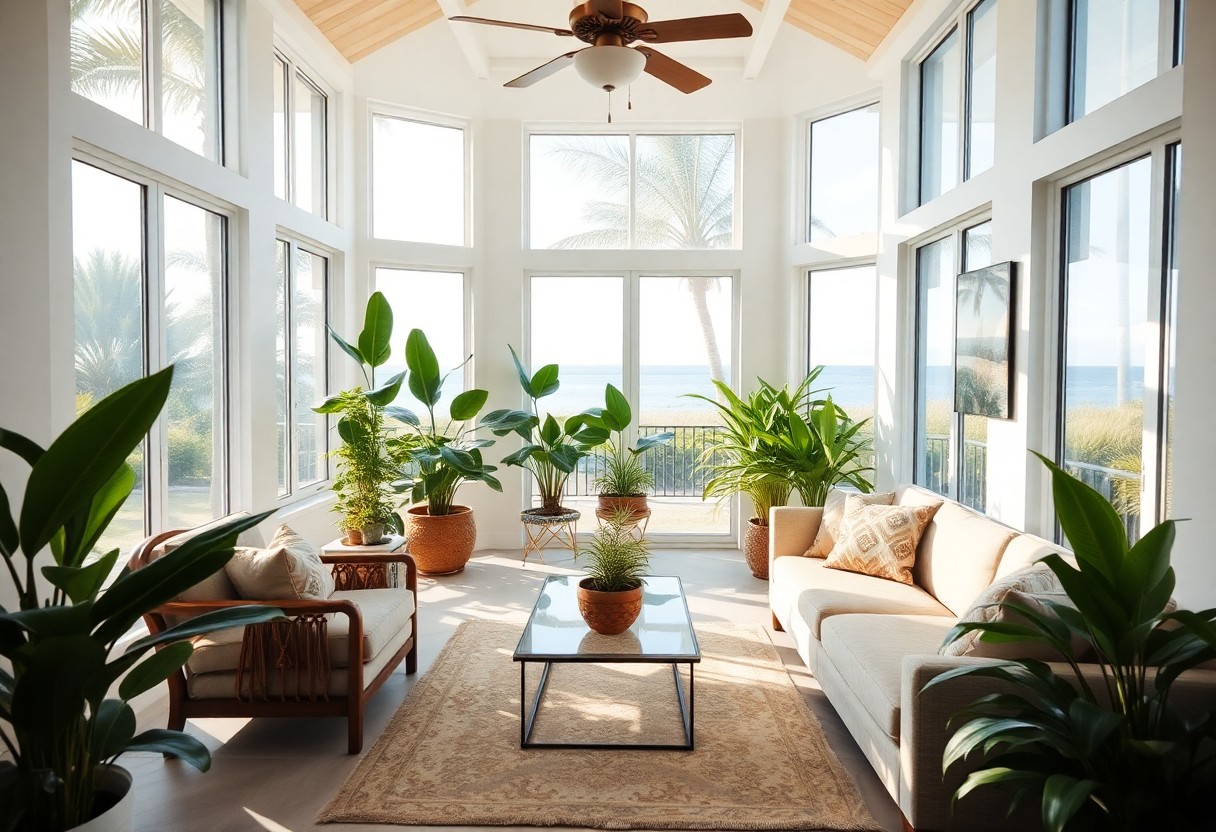
- Add Finishing Touches: Consider adding decorative elements like lights, fans, furniture, or potted plants to make your screen porch truly yours. Paint or stain the wood if desired, and ensure all parts are sealed and protected for durability.
DIY Screen Porch Kit
Building your own screen porch can be a rewarding experience that enhances your outdoor living. This step-by-step guide to creating a DIY screen porch kit with roof is designed to help you every step of the way. As you relax on your new porch, take pride in the effort you’ve put into creating your perfect outdoor retreat.