

Most homeowners dream of creating a tranquil outdoor space to relax and enjoy nature while being shielded from pesky insects. With DIY screened porch kits, you have the perfect opportunity to transform your backyard into a stunning oasis. This guide will walk you through every step of the process, ensuring you achieve your dream space with ease.
Before you start, choose the right screened porch kit that fits your specific needs and budget. Look for kits that include all imperative components, such as screens, framing materials, and roofing. Many kits are customizable, allowing you to tailor the size and style to match your home. Take time to explore various options to find one that complements your existing architecture.
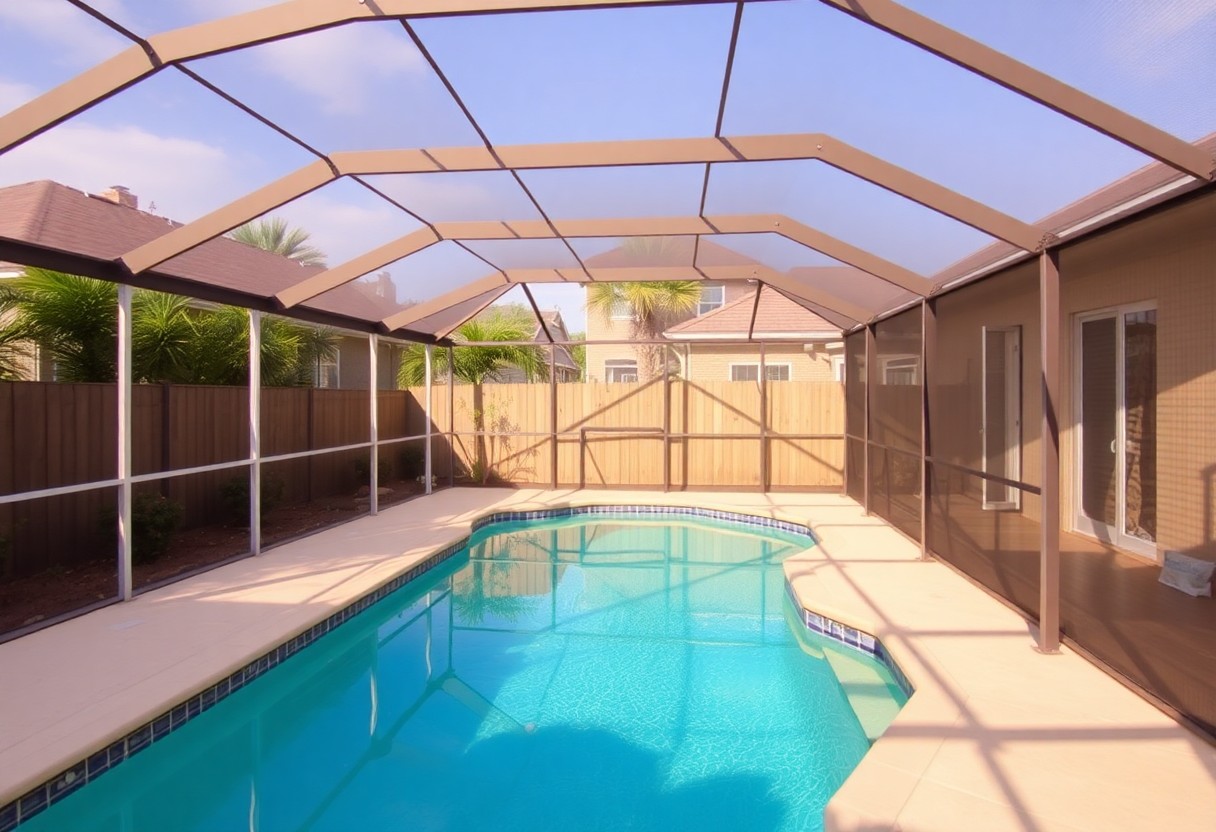
Once you have your kit, it’s time to prepare your site. Start by selecting a suitable location for your porch. Ideally, this area should have exposure to natural light but also enough shade to keep it comfortable. Ensure the ground is level, as this will simplify the installation process. Clear any debris and measure the dimensions your porch will occupy. This is a perfect moment to envision how you would like your space to look, whether you prefer a cozy nook or a larger gathering area.
Next, gather your tools and materials. Most kits include a full list of what you will need, but generally, you should have basic hand tools like a saw, drill, and screwdriver. A level and tape measure will also come in handy. Make sure you have safety gear, such as goggles and gloves, to protect yourself during the installation process.
Begin the assembly by constructing the frame of your porch. Follow the instructions that come with your kit. Typically, you will start by laying out the base and attaching the floor joists. These should be level to ensure stability. Once the base is complete, attach the vertical posts, following the specified guidelines. At this point, make sure everything is aligned and secure before moving on to the next step.
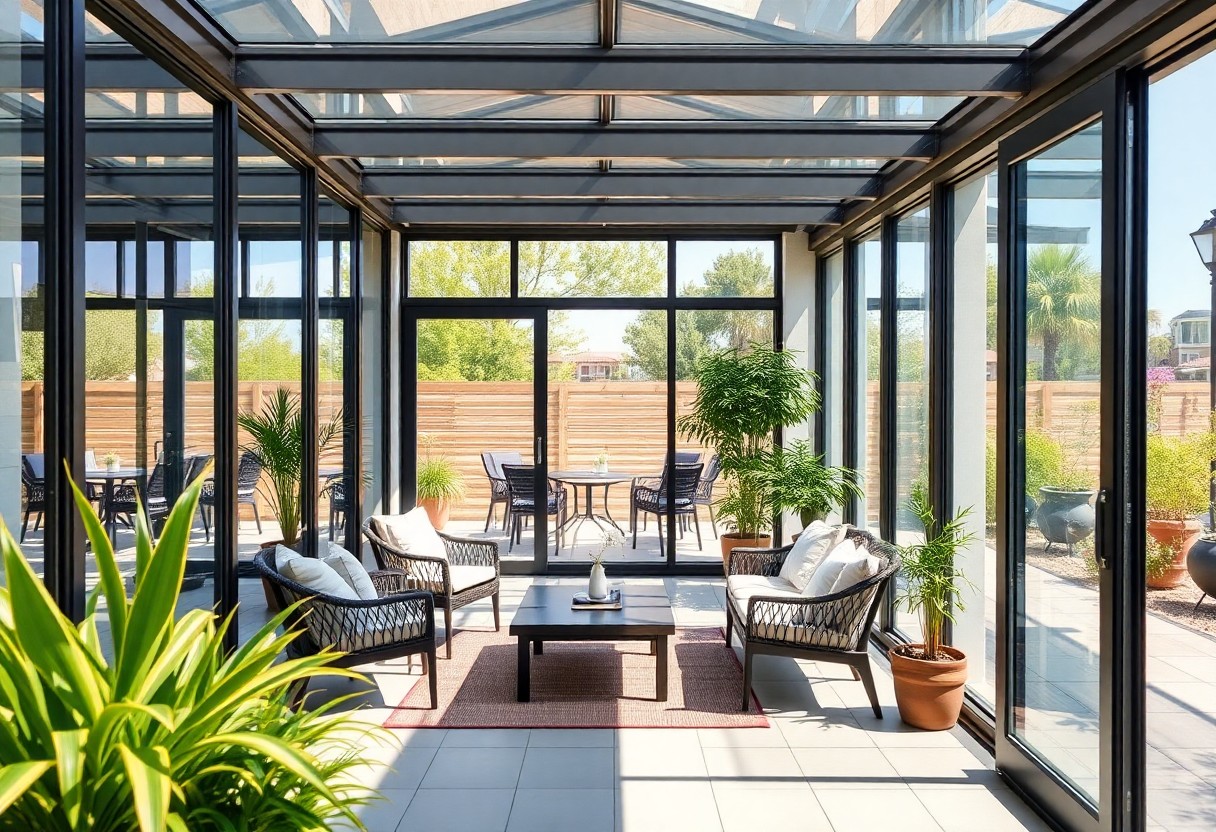
Now it’s time to install the screens. Depending on your kit, you might have pre-framed screens or individual screen materials. If you have pre-framed screens, simply attach them to the frame using screws or brackets. If you are using raw screen material, stretch it tightly over the frames and secure it in place with staples or screen molding. This method provides excellent ventilation while keeping bugs at bay.
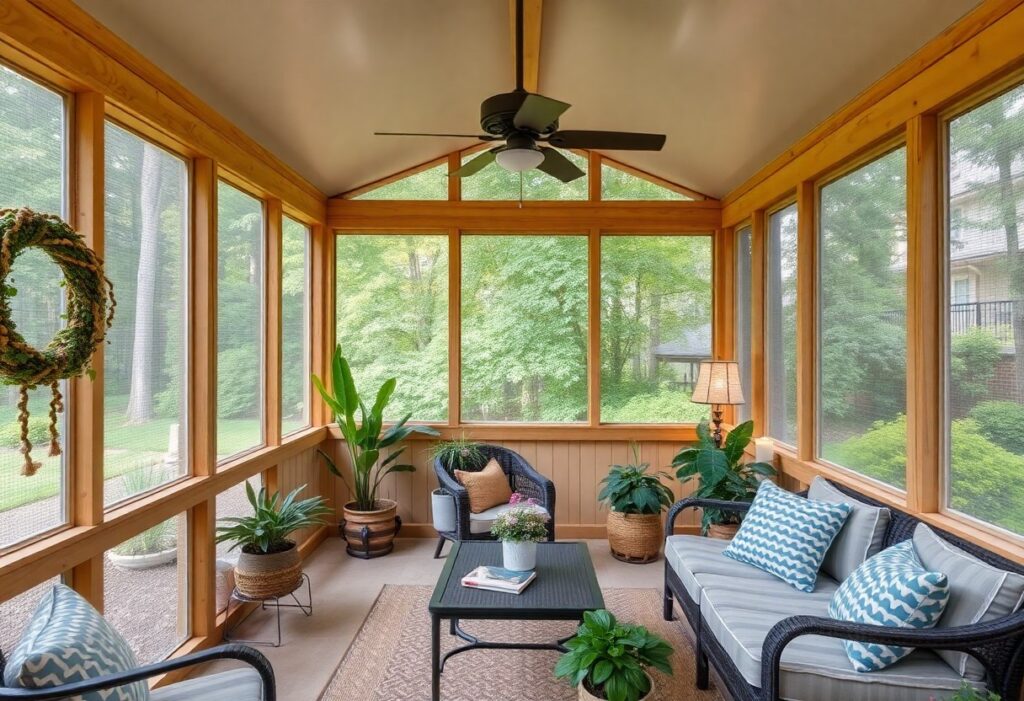
After installing the screens, focus on adding a roof structure. Most kits will include options for either a solid roof or a screened roof. Solid roofs provide more shade and protection from the elements, whereas screened roofs allow for more airflow. Select the option that best suits your needs.
Finally, accessorize your new screened porch! Consider adding comfortable furniture, vibrant plants, and cozy lighting to create an inviting atmosphere. With your DIY screened porch complete, you can now relish the joys of outdoor living, free from interruptions by insects.
By following these steps, you can easily create a screened porch that enhances your home and provides a peaceful retreat for years to come. Enjoy the process and happy building!